
DIY Haunted Halloween Village SVG Ideas for Spooky Tabletop Decor
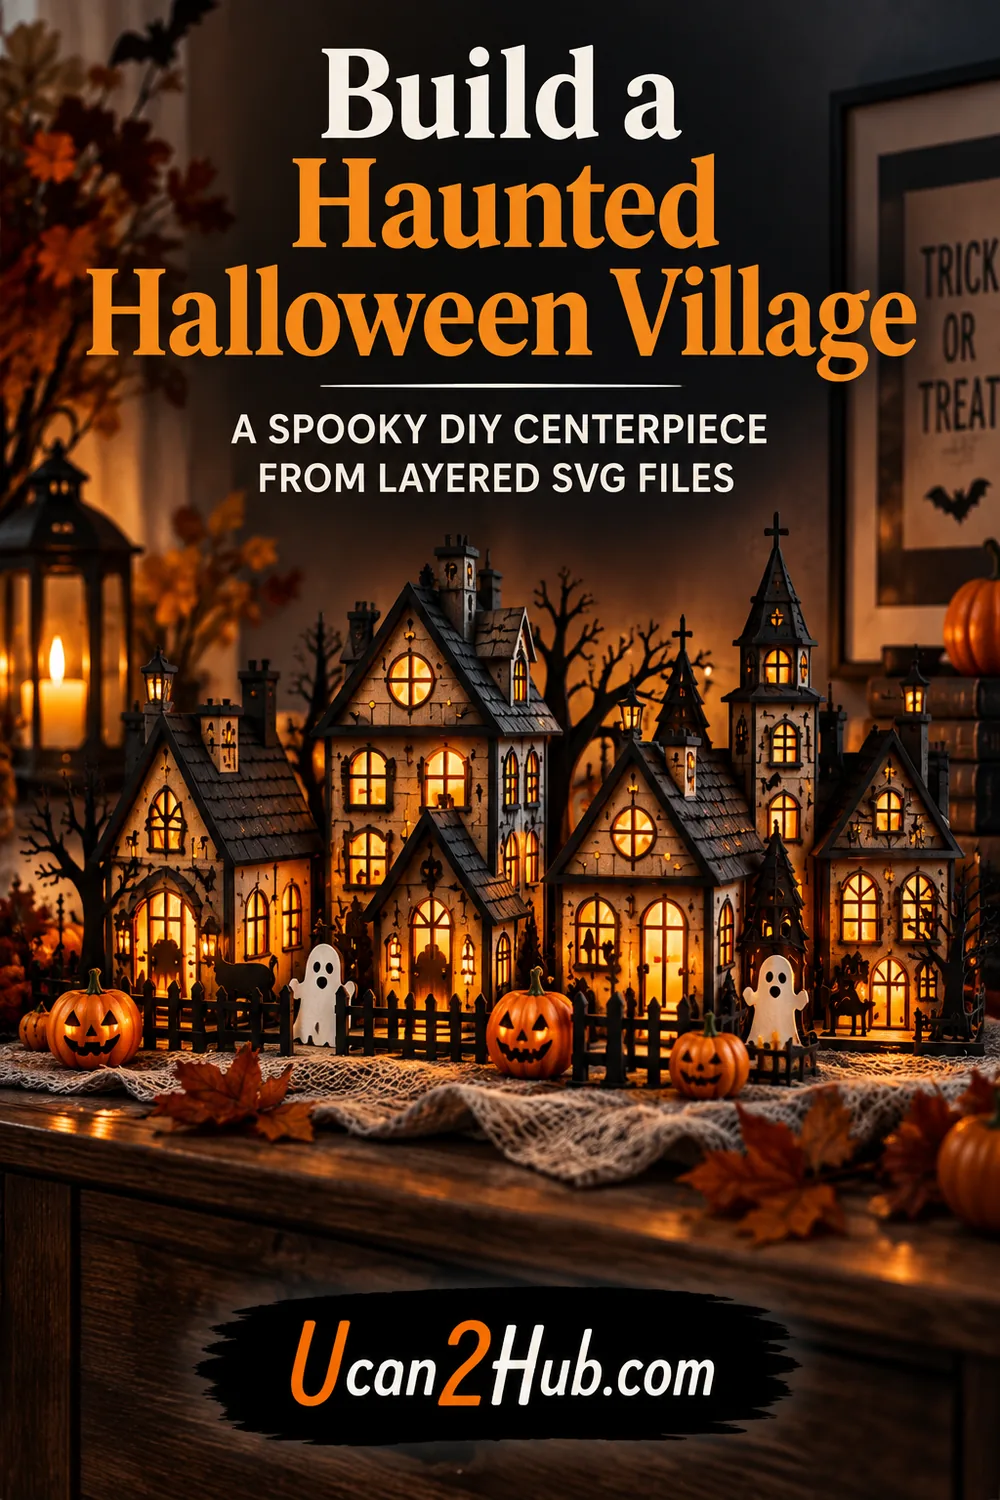
Halloween villages are a fun way to turn a shelf, mantel, side table, or party display into a miniature spooky scene. With a layered SVG design, you can create haunted houses, eerie silhouettes, pumpkins, ghosts, and glowing windows without having to design every element from scratch.
Whether you use a laser cutter or another compatible cutting machine, a Halloween village project can be as simple or detailed as you want. Start with a few houses for a compact display, or build a larger scene with lights, pumpkins, branches, faux cobwebs, and other seasonal decorations.
Create a Haunted Village for Your Halloween Display
A miniature haunted village works especially well as tabletop Halloween decor because it creates a strong visual effect without taking up much space.
You can place it on:
- a fireplace mantel;
- a console table;
- a bookshelf;
- a Halloween party table;
- a window ledge;
- an entryway display.
For a more dramatic look, use warm LED lights behind the cutout houses. The light shining through windows and decorative details can make even a simple village feel much more atmospheric.
What You Can Make With a Halloween Village SVG
A layered Halloween SVG gives you several creative options instead of just one finished project.
You can use the design to create:
- haunted house silhouettes;
- spooky tabletop villages;
- Halloween shelf decor;
- layered wooden scenes;
- illuminated Halloween displays;
- party centerpieces;
- seasonal signs and decorations.
The biggest advantage is flexibility. You can keep the design minimal and monochrome, or add orange, purple, black, and natural wood tones for a more detailed seasonal look.
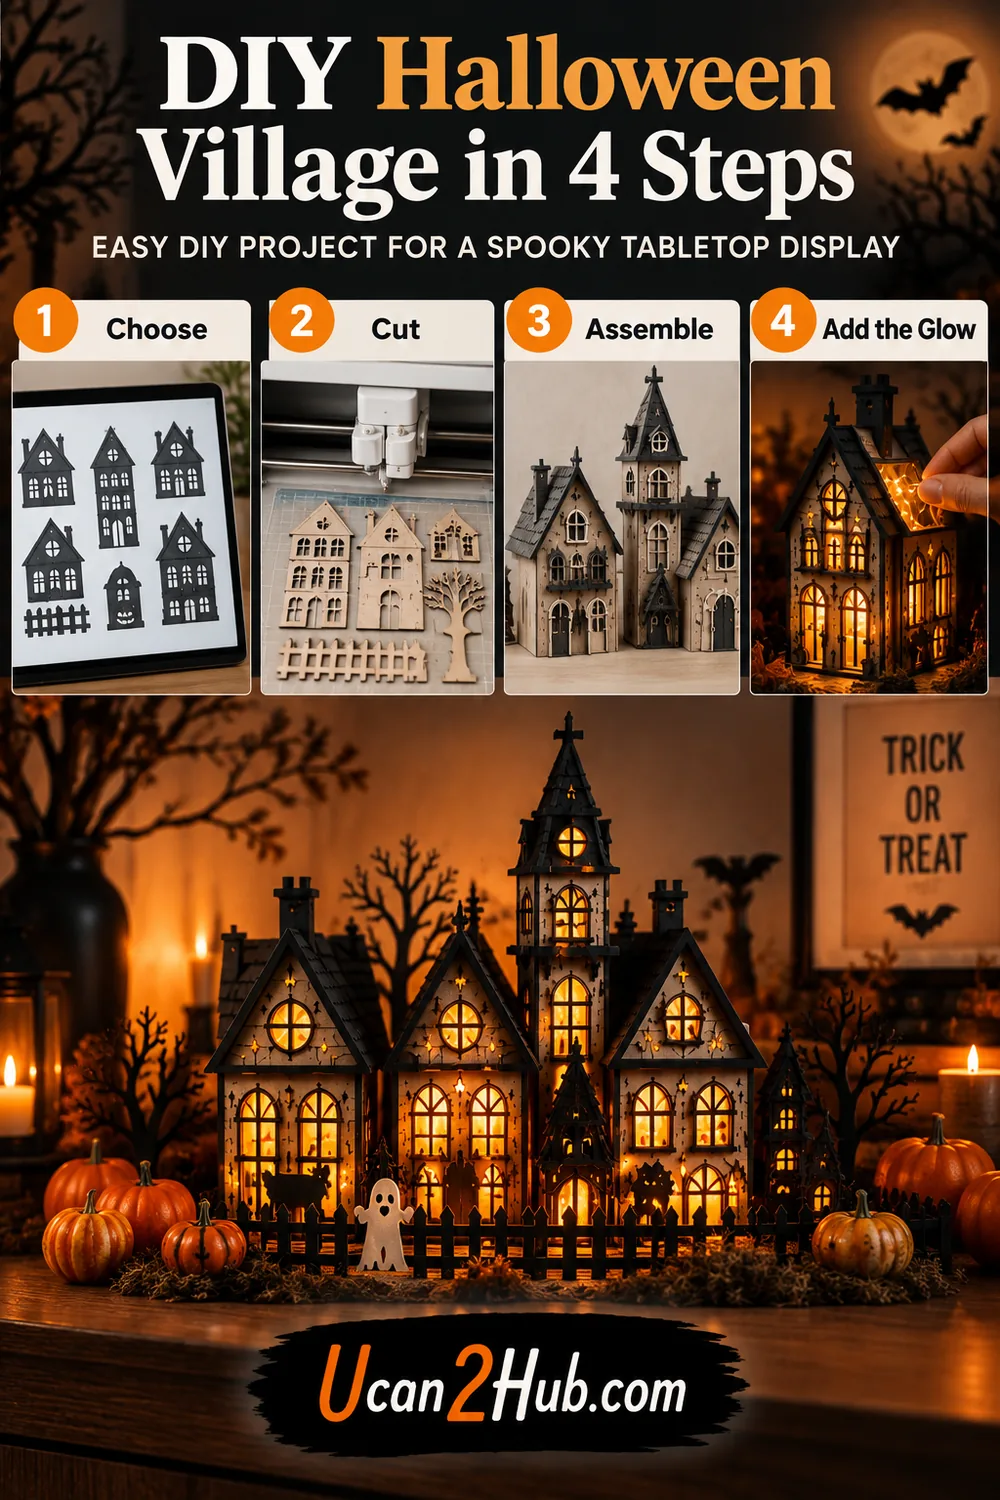
DIY Haunted Halloween Village in 4 Steps
1. Choose the Design
Start with a Halloween village SVG that matches the type of display you want to create.
For a tabletop scene, designs with several buildings, layered details, and recognizable Halloween elements usually create the strongest finished result.
2. Cut the Layers
Prepare the SVG in the software used with your cutting machine.
Depending on the project, you can use wood, MDF, cardstock, or another suitable material. Before cutting the full design, it is worth checking the size of smaller windows, branches, and decorative details.
3. Assemble the Village
Once the pieces are cut, assemble the individual houses and scene elements.
You do not need to make the entire village symmetrical. Different heights and spacing can make the display look more natural and visually interesting.
4. Add the Glow
This is where the scene comes alive.
Place small battery-powered LED lights behind or inside the houses. Add pumpkins, dried branches, faux leaves, cobwebs, or other Halloween decorations around the village.
A warm glow usually works especially well with black, dark brown, orange, or natural wood finishes.
Get the Haunted Halloween Village SVG
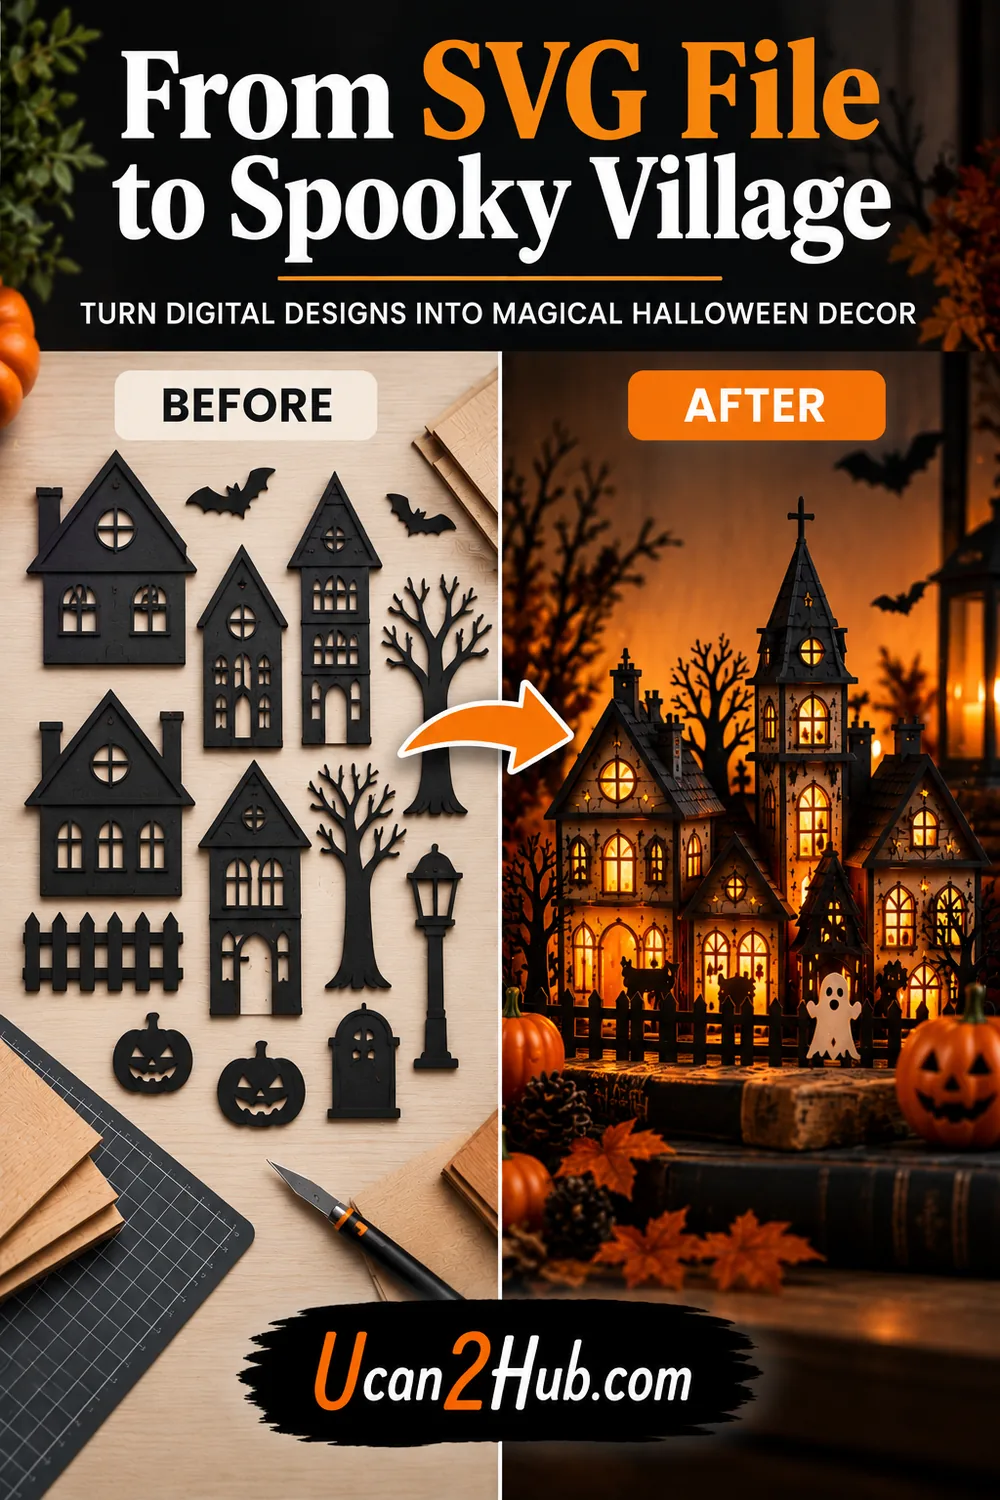
If you want to create a similar display without designing the individual houses from scratch, this Haunted Halloween Village SVG gives you a ready-made starting point for a layered Halloween project.
It can work well for tabletop decor, shelf displays, Halloween centerpieces, and other seasonal craft projects.
